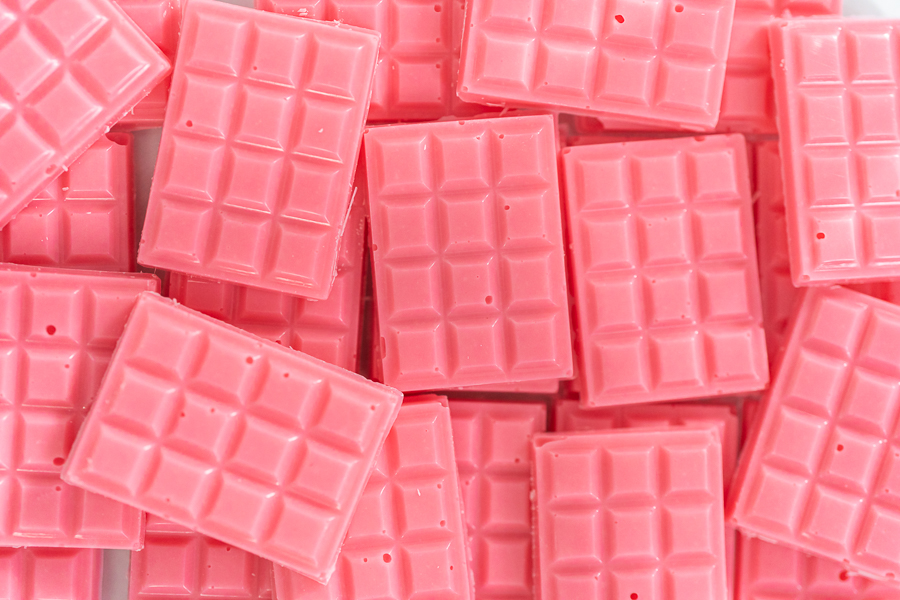
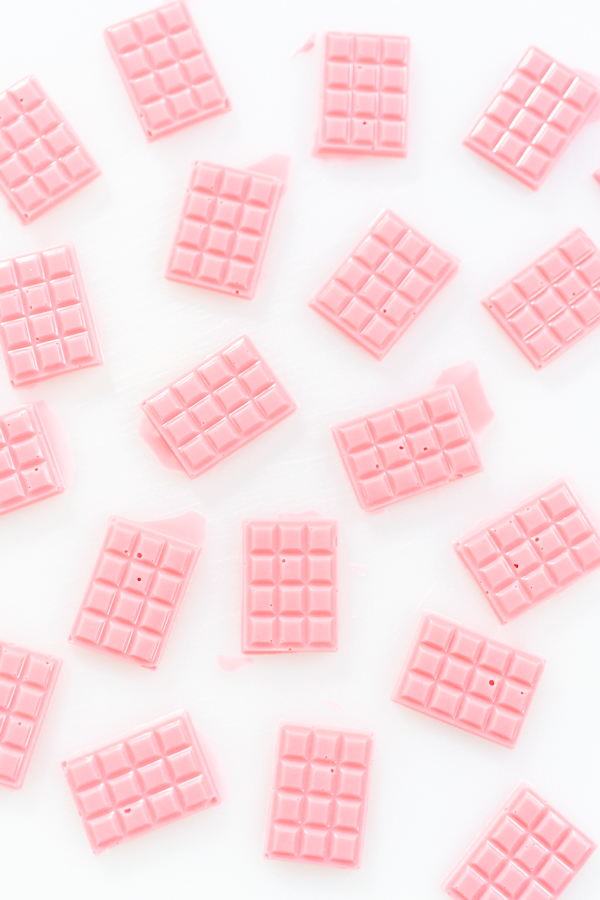
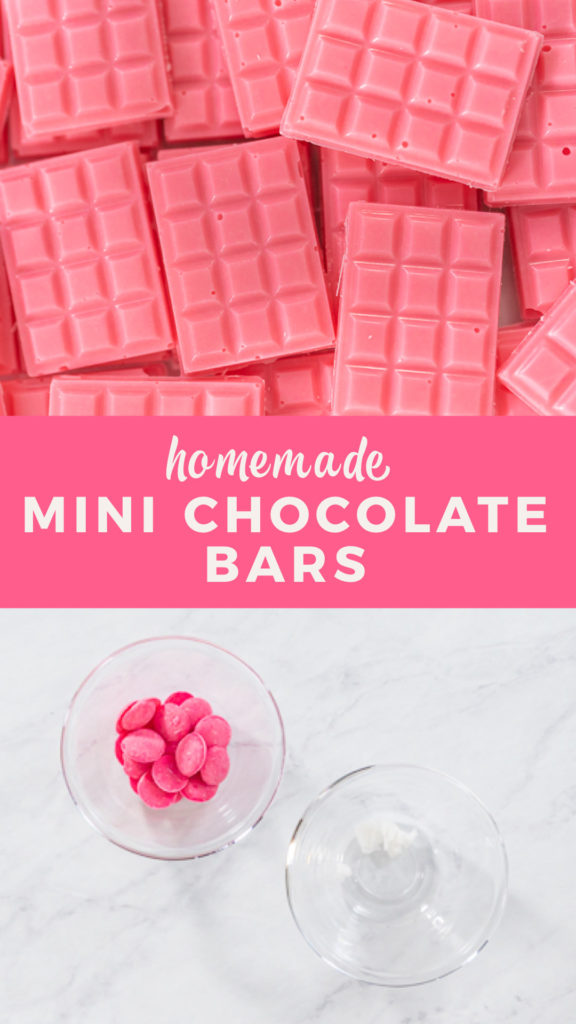
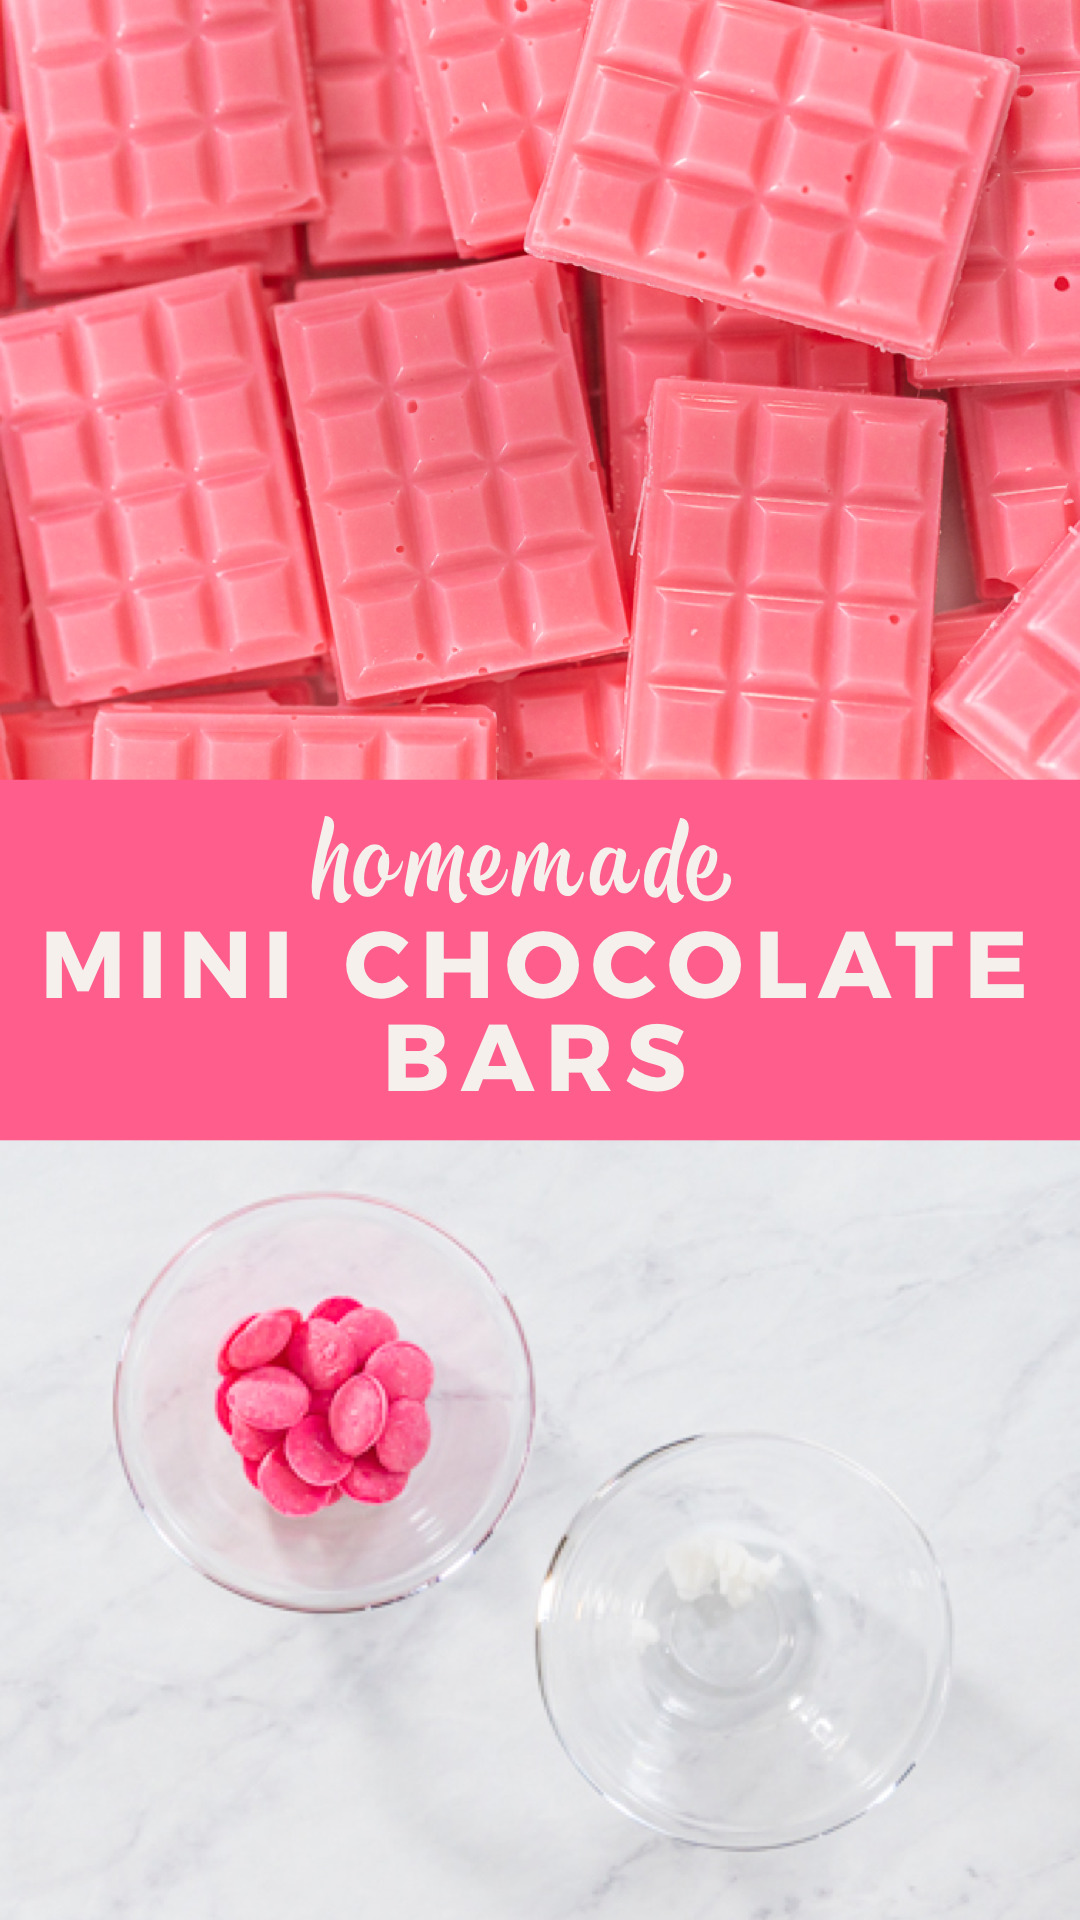
How to make charming homemade mini chocolate bars with only 2 ingredients!
This post may contain affiliate links. Please see my full disclosure policy for details.
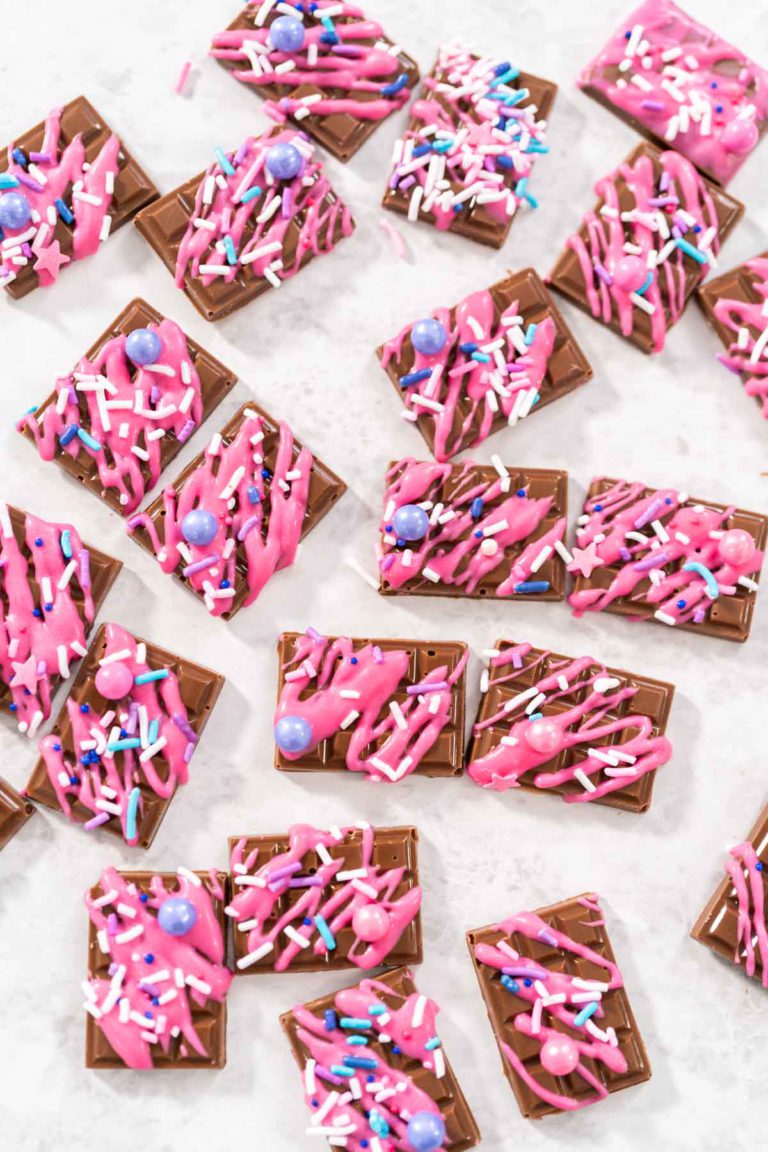
Have you ever thought to yourself “what could I add to this homemade birthday cake that would add a little spark of magic to it?” Whether it’s a birthday cake or just a homemade treat that you made for the fun of it, you’ll probably want a topping that’s really easy to put together. After all, you just spent hours putting together a homemade dessert recipe and you’re probably about ready for a break. Well, I have got the perfect dessert topping solution for you! Homemade mini chocolate bars!
Not only are these mini chocolate bars incredibly charming, but they are also ridiculously easy to make! You only need a few cooking tools and 2 ingredients to make these adorable little candy bars. Plus you can easily make these in just about any color to match your dessert or theme. Only a few materials, a super simple process, and even an easy clean up afterwards? Now that is real magic!
To make easy homemade mini chocolate bars all you need is some candy melts, coconut oil, a candy melt pot, some chocolate bar- shaped silicone molds, and some spatulas. Just melt the candies and oil together in the melting pot, spoon the melted candy into the molds, scrape off any excess chocolate, and freeze flat.
Candy- Making Equipment and Tools
To make this whole candy bar-making process super easy and quick, I use a particular set of tools for ultimate candy success.
Helpful Hint:
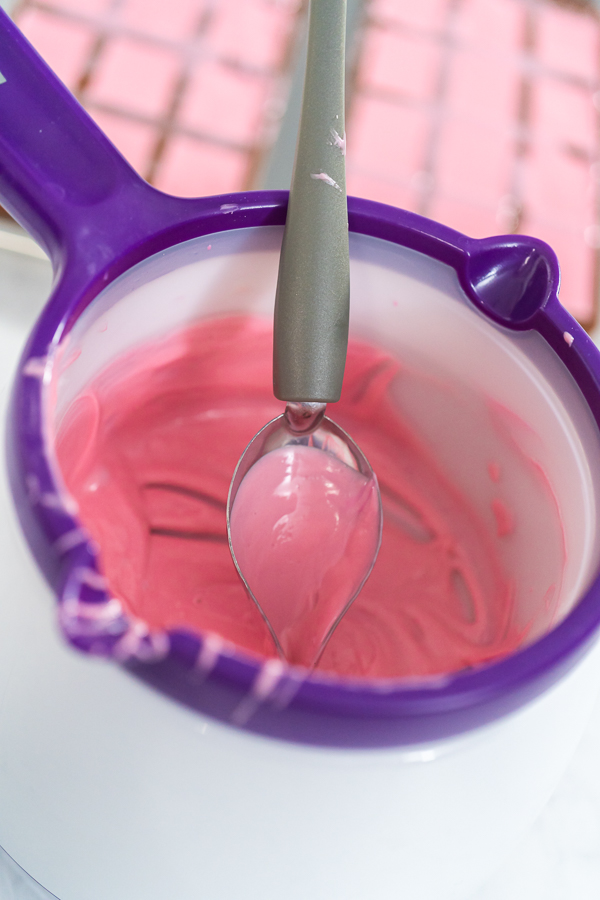
I specifically like using my candy melt pot over all other melting methods for any kind of candy-making projects! Since it keeps the chocolate at the perfect temperature through the melting process without ever overcooking the chocolate, it makes the entire process much easier and stress-free! Plus the silicone lining makes it super easy to clean up afterward.
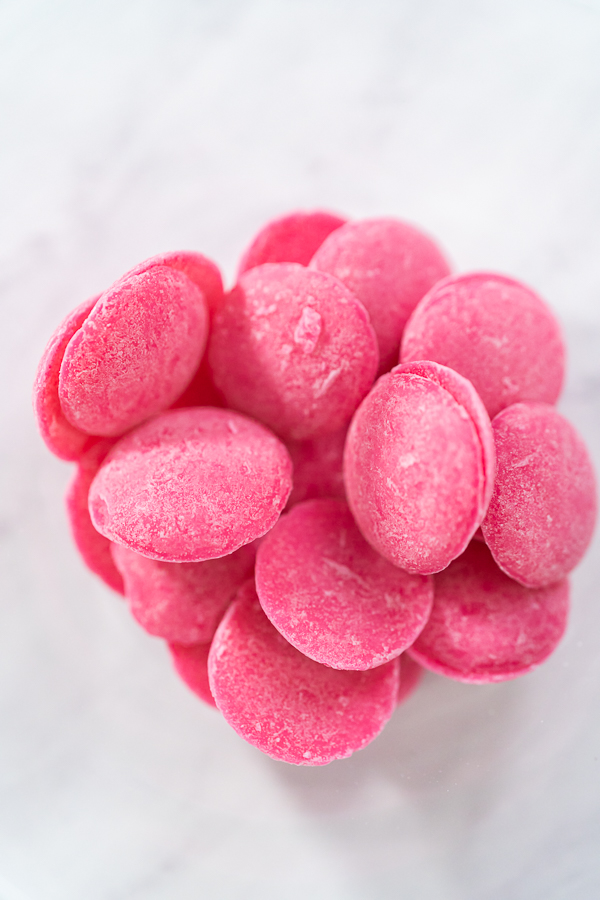
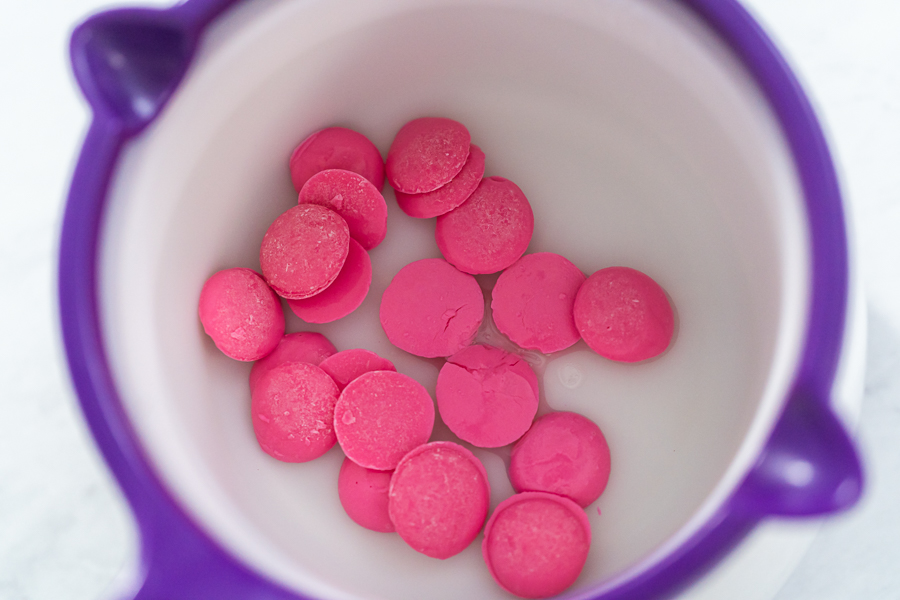
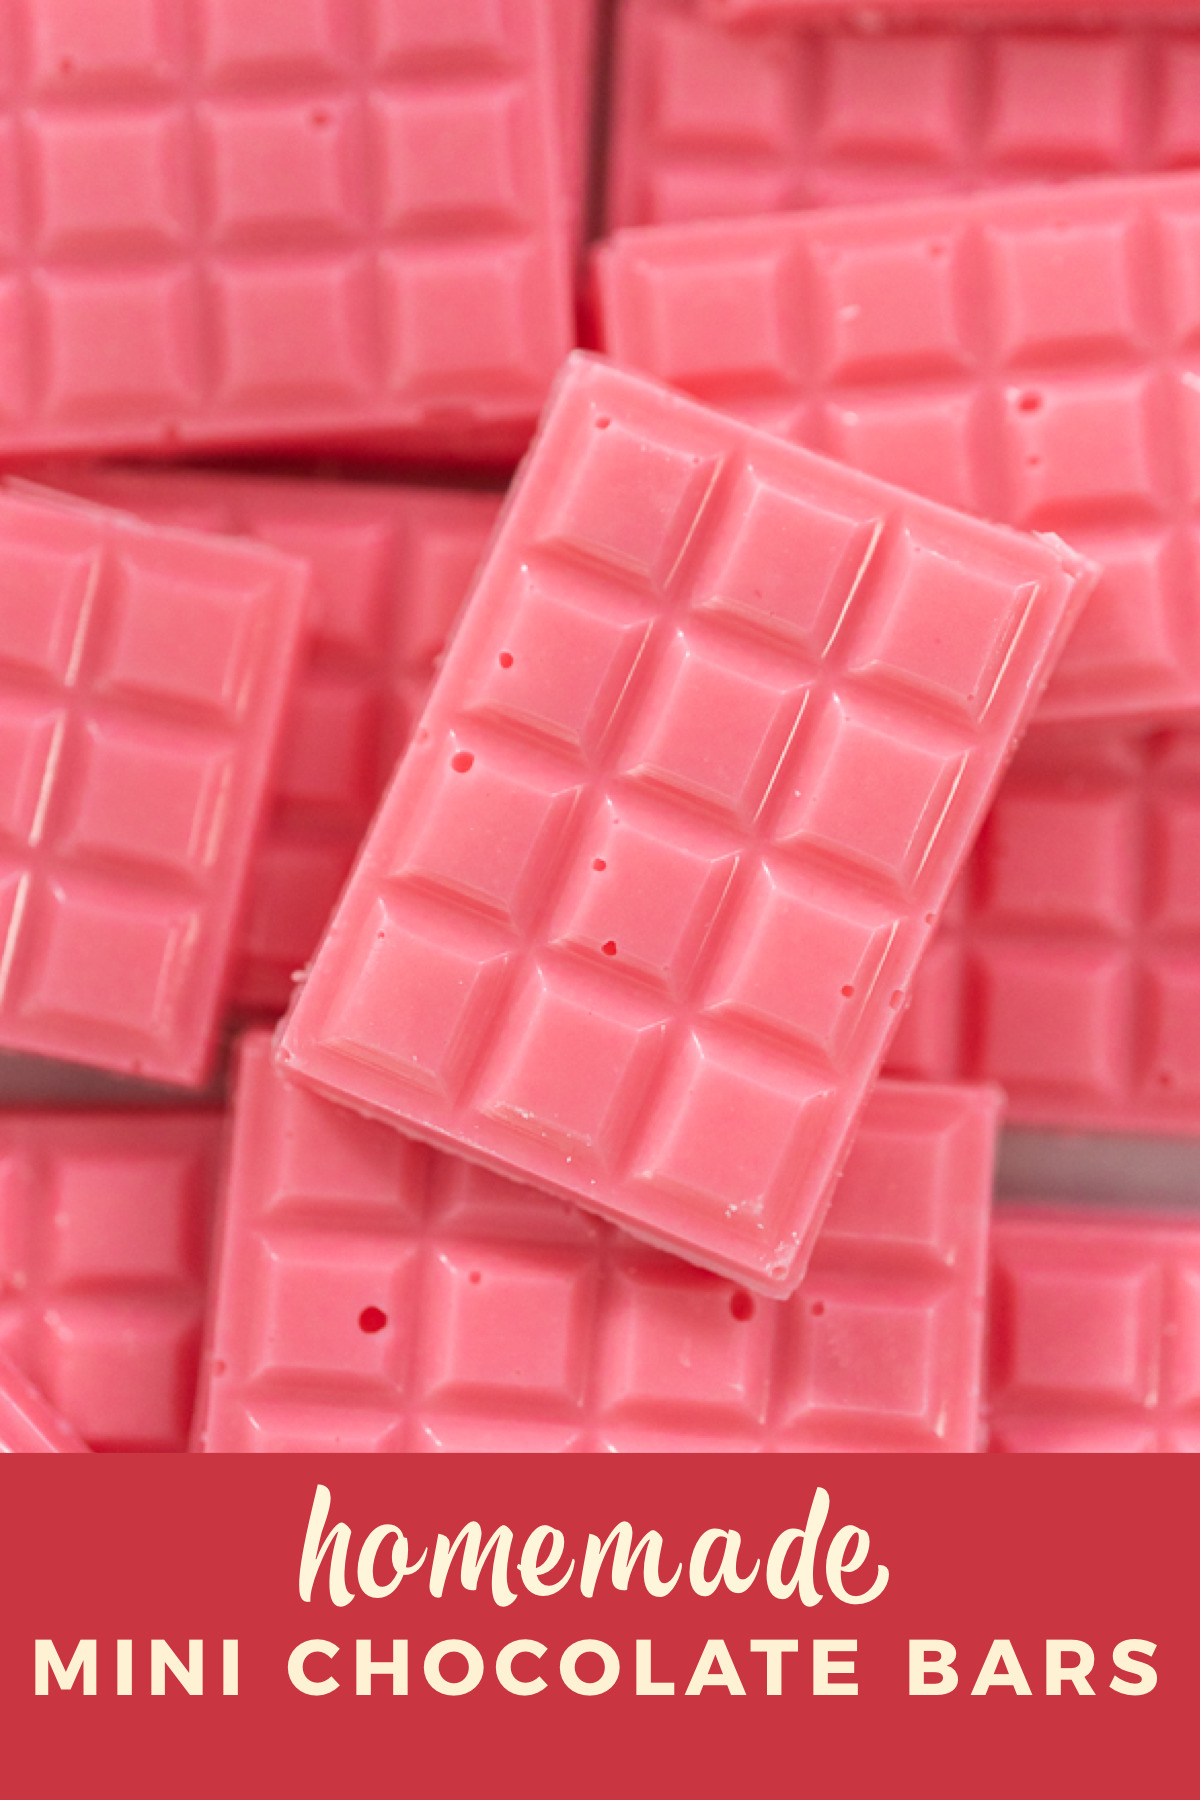
Pretty in Pink Ingredients
I made these mini chocolate bars with my daughter in mind so I made them in her favorite color, pink! Of course you can make these sweet little treats in any color you choose or if you want to have even more fun with it, you can mix and match different colors.
- 1 cup Pink Wilton candy melts
- ¼ tsp Coconut oil
Cake & Cupcake Toppers


How to Make Mini Chocolate Bars
Time to move on to melting these little candies into magic-inspired mini chocolate bars! As soon as you make these sweet little delights for the first time you will instantaneously get that feeling of being a kid in a candy shop again!
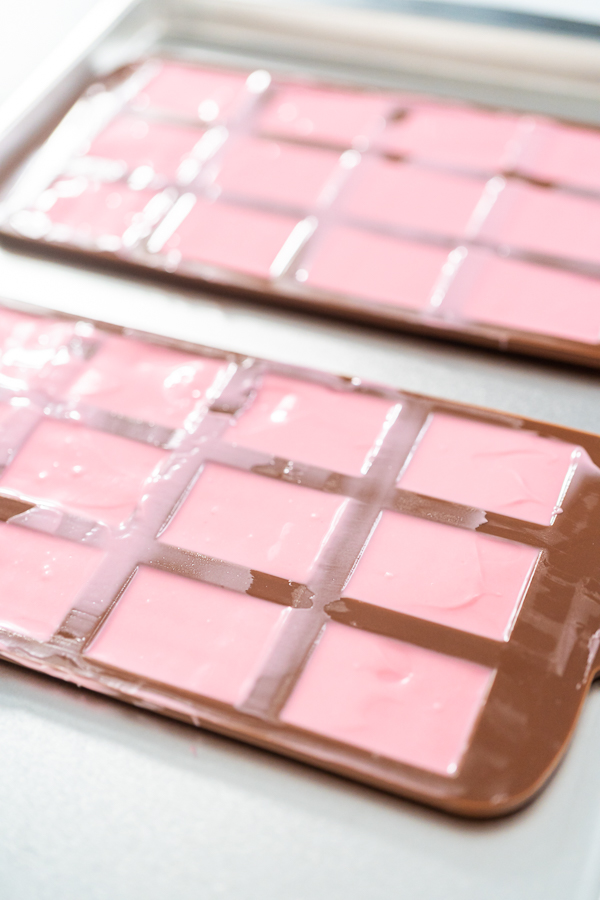
- First, combine the pink candy melts and the coconut oil in the candy melt pot. Melt them together on high, while stirring continuously with a heat resistant spatula.
- Then, spoon the melted chocolate into the chocolate bar silicone molds. Scrape the excess chocolate off with a cake spatula.
- I personally like to use several molds at the same time to speed up my process. I suggest using at least 2 silicone molds or more for big batches.
- Next, place the silicone molds on a small baking sheet and transfer them to the freezer. Freeze the molds for 10 minutes.
- Make sure to lay the molds flat in the freezer!
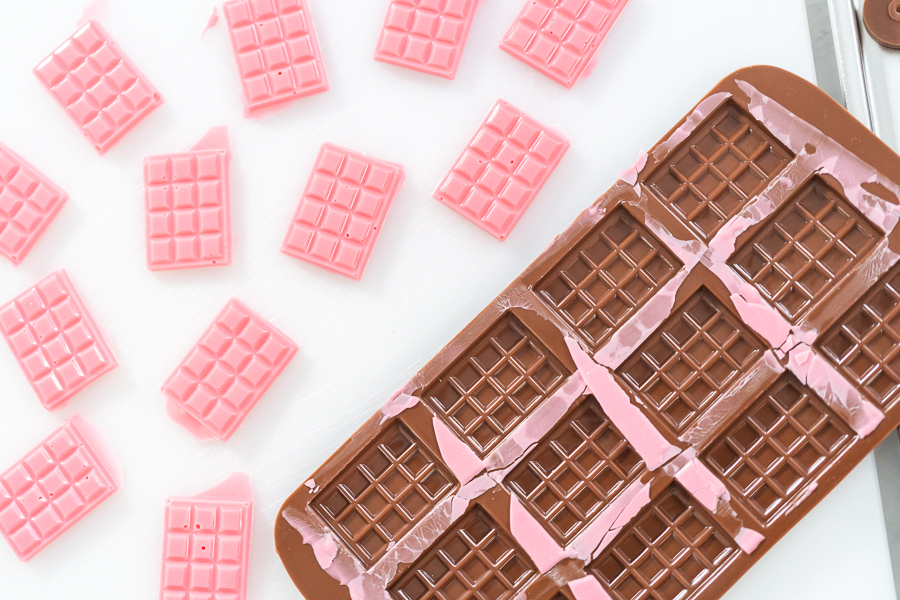
- Finally, after the chocolate has hardened, carefully remove the chocolates from the silicone molds. Use a small knife to cut away any extra chocolate from the edges.
- Try not to handle the homemade candies too much as the body heat from your hands can make the chocolate melt.
Homemade Mini Chocolate Bar Storage
These homemade mini chocolate bars can actually stay good for much longer than other homemade desserts if they are stored properly.
- Just transfer the mini chocolate bars to an airtight container.
- Use small cuts of parchment paper or wax paper in between the layers to help keep the chocolates separated and intact.
- Homemade chocolates can be stored for up to 2 or 3 weeks, either stored in the fridge or in a cool, dry place out of the sun’s warm reach.
- Always note the date when storing so you can keep track of the freshness and quality.
Super Sweet Serving Ideas
These adorable mini chocolate bars can be enjoyed on their own as the mini treats that they are, or served up in all kinds of fun recipes and desserts! Whatever you add these mini bars to, they are sure to bring a little spark of magic.
Serve homemade mini chocolate bars on:
- Cakes
- Cupcakes
- Cookies
- Brownies
- Smoothies
- Ice cream or sundaes
- Featured as a topping on a Hot Chocolate Bar
- This hot chocolate bar idea is easy and perfect for any kind of fall and winter parties or gatherings!
You can also just change up the colors to match any party theme or color scheme of a party or holiday celebration! Try these out for special occasions such as:
- Kids birthday parties
- Baby Shower
- Valentine’s day
- Easter
- Christmas
- Halloween
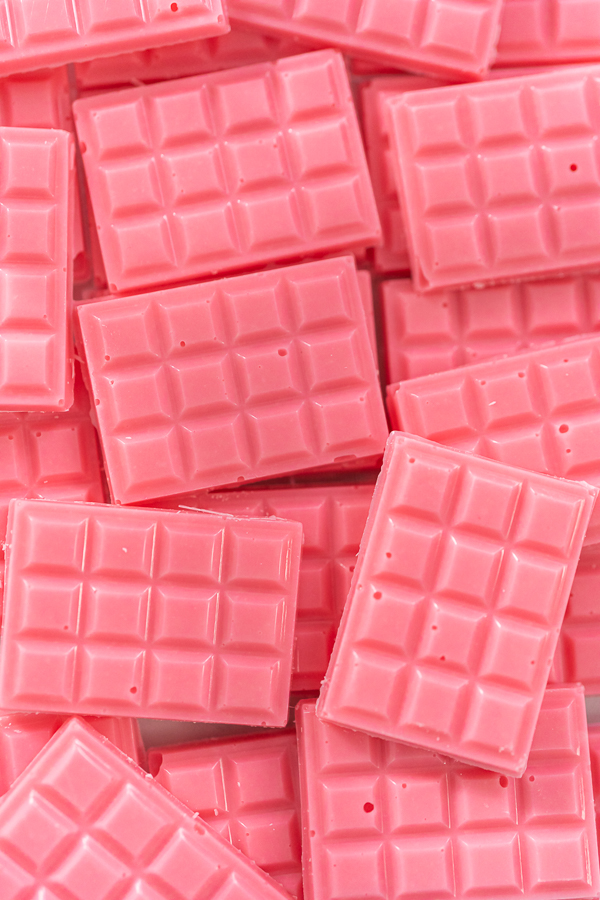
Homemade mini chocolate bars
Ingredients
- 1 cup Pink Wilton candy melts
- ¼ tsp Coconut oil
Instructions
- First, combine the pink candy melts and the coconut oil in the candy melt pot. Melt them together on high, while stirring continuously with a heat resistant spatula.
- Then, spoon the melted chocolate into the chocolate bar silicone molds. Scrape the excess chocolate off with a cake spatula. I personally like to use several molds at the same time to speed up my process. I suggest using at least 2 silicone molds or more for big batches.
- Next, place the silicone molds on a small baking sheet and transfer them to the freezer. Freeze the molds for 10 minutes. Make sure to lay the molds flat in the freezer!
- Finally, after the chocolate has hardened, carefully remove the chocolates from the silicone molds. Use a small knife to cut away any extra chocolate from the edges. Try not to handle the homemade candies too much as the body heat from your hands can make the chocolate melt.
Video
Notes
- Just transfer the mini chocolate bars to an airtight container.
- Use small cuts of parchment paper or wax paper in between the layers to help keep the chocolates separated and intact.
- Homemade chocolates can be stored for up to 2 or 3 weeks, either stored in the fridge or in a cool, dry place out of the sun’s warm reach.
- Always note the date when storing so you can keep track of the freshness and quality.
Nutrition


Leave a Reply